How to Make WordPress Multilingual: Multisite Manual
LIQUID PRESS MAUNAL-
How to Make WordPress Multilingual: Multisite Manual
Using a multilingual theme, you can easily build a multilingual site.
It is recommended for global sites and sites aimed at inbound visitors (foreign tourists to Japan).
LIQUID PRESS supports internationalization (i18n), automatic language switching links, a switcher widget, and multilingual SEO using Google's recommended language annotations (hreflang).
* There is no article translation feature. Please use a separate translation service.Comparison of Multilingual Approaches
By using a multilingual theme, you can create content for each language.
★ Multilingual theme Multilingual plugin Automatic translation only Advantages - Content can be created per language
- Search indexing (SEO) can be done per language
- Design changes per language are easy
- Menus and widgets can be configured per language
- Administrator users can be created per language
- No risk of conflicts between plugins
- Creating and managing per-language articles is easy
- Can be managed on a single site
- Easy to set up
- Can be managed on a single site
Disadvantages - Requires a multisite setup or multiple WordPress installations
- Requires creating and managing per-language articles
- Content may not be creatable per language
- Search indexing (SEO) may not be possible per language
- Design changes per language are difficult
- Menus and widgets cannot be configured per language
- Administrator users cannot be created per language
- Risk of conflicts between plugins
- In most cases content cannot be created per language
- In most cases search indexing (SEO) cannot be done per language
- In most cases design changes per language are not possible
- Plans that do support the above can be expensive
-
Multilingual Themes
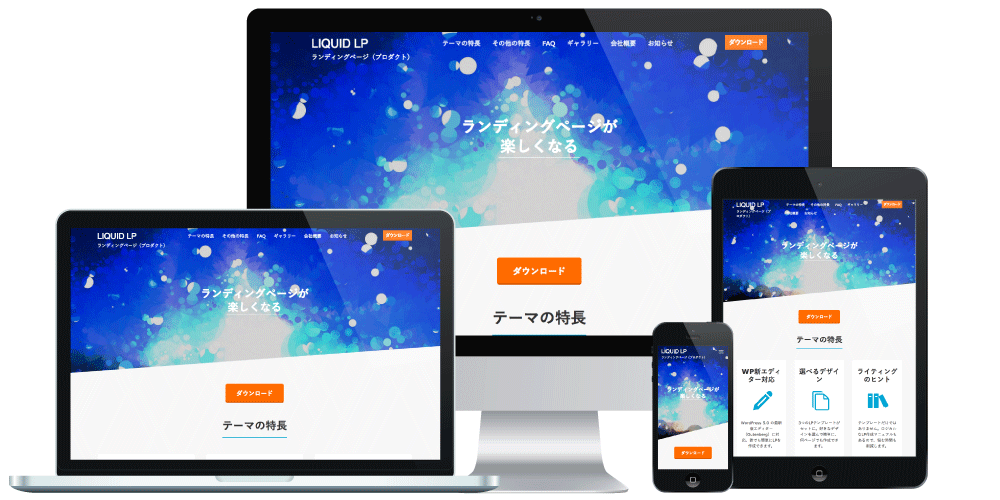
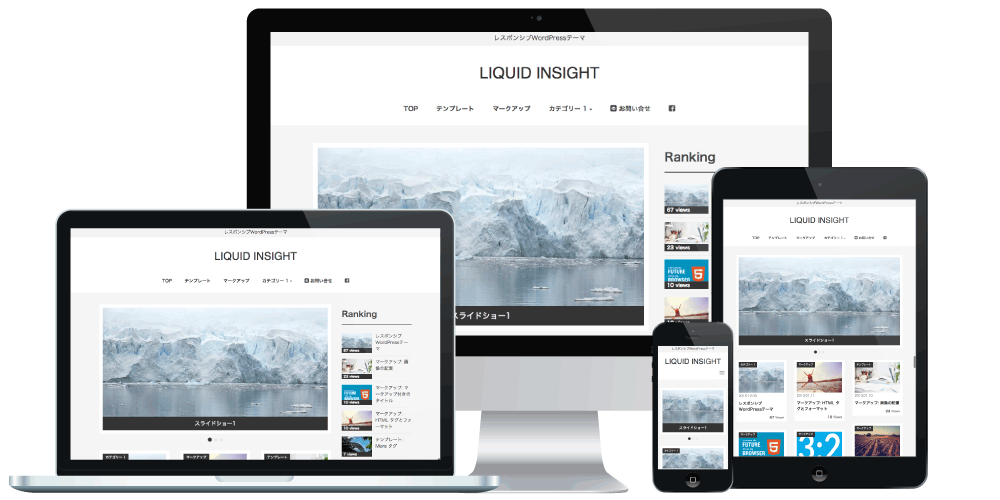
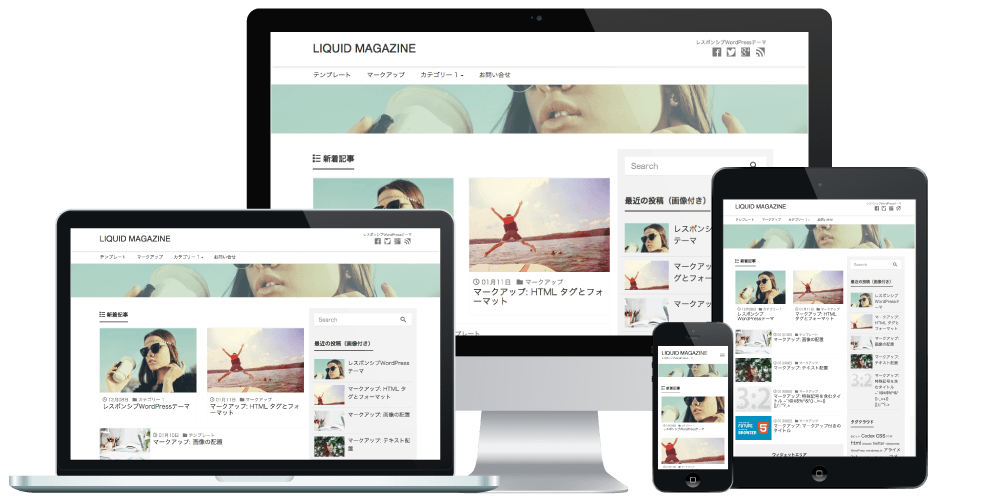
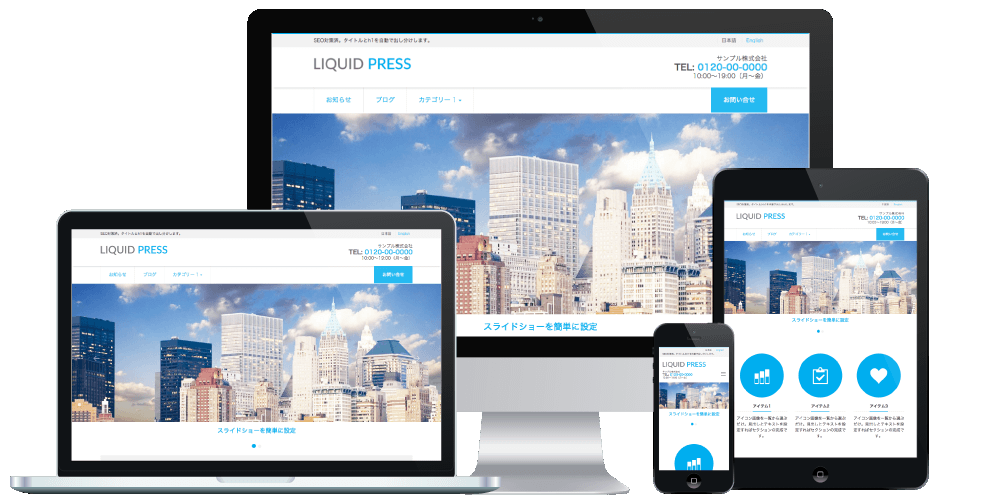
LIQUID PRESS
Item Built into the theme Extension plugin Supported themes LIQUID CORPORATE All LIQUID PRESS series themes Language settings Up to 3 languages
Language code, display name, hierarchyUp to 5 languages
Language code, display name, hierarchyAutomatic language detection and switching On / Off Custom fields Exclude from language switching links
Name: lang / Value: noneWidgets Language switcher (automatically shown in the header) Language switcher (extended) » CORPORATE » Premium Service How to Set Up Multilingual Support
Site Structure
With a multilingual theme, you can build a multilingual site using either the directory type or the subdomain type multisite structure shown below.
Please make sure each subdomain and so on is accessible in advance.
New The subdomain type is now supported as well.Example 1 (directory)
- Japanese: https://www.example.com/
- English: https://www.example.com/en/
- Chinese: https://www.example.com/zh/
Example 2 (directory)
- Japanese: https://www.example.com/ja/
- English: https://www.example.com/en/
- Chinese: https://www.example.com/zh/
Example 3 (subdomain)
- Japanese: https://ja.example.com/
- English: https://en.example.com/
- Chinese: https://zh.example.com/
-
Creating a Multisite
Here we introduce how to build per-language WordPress sites using WordPress's multisite feature.
You can also install WordPress multiple times instead of using multisite. In that case, after building the multiple sites, proceed to Theme Settings.For a detailed explanation of multisite, please see the official documentation.
* Multisite is a standard WordPress feature, so it is outside the scope of our support.1. If you have an existing site, back up your database and files.
* We recommend installing WordPress itself directly under the domain root.2. Allow multisite.
Open the wp-config.php file, add the following line above /* That's all, stop editing! Happy blogging. */, then upload and overwrite the file.define ('WP_ALLOW_MULTISITE', true);3. Set up the network.
A Dashboard > Tools > Network Setup menu will have been added, so open it.
* If a message appears asking you to deactivate plugins, deactivate them.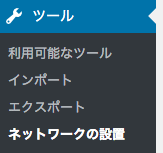
Check the settings.
Choose either "Sub-domains" or "Sub-directories" for the addresses of sites within the network.
* This setting cannot be changed later.
* Depending on where WordPress itself is installed, the selectable address types may be limited.
Press the "Install" button.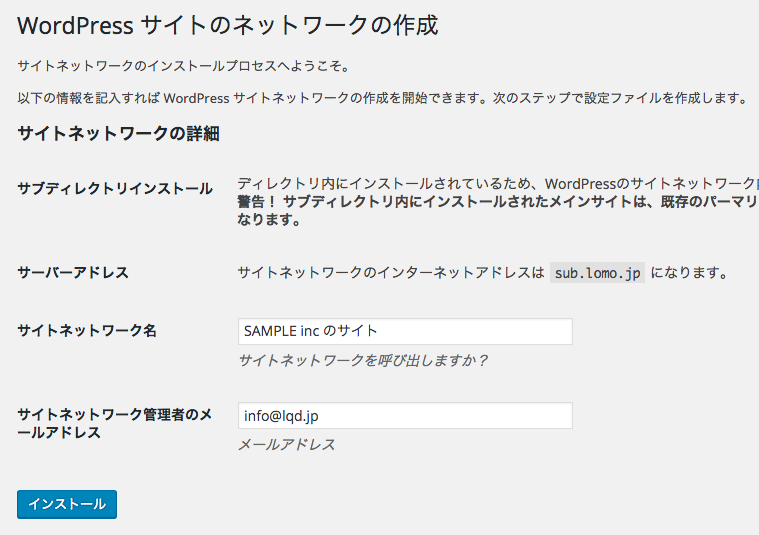
4. Enable the network settings.
The content that must be added to or replaced in wp-config.php and .htaccess will be displayed.
Update each file.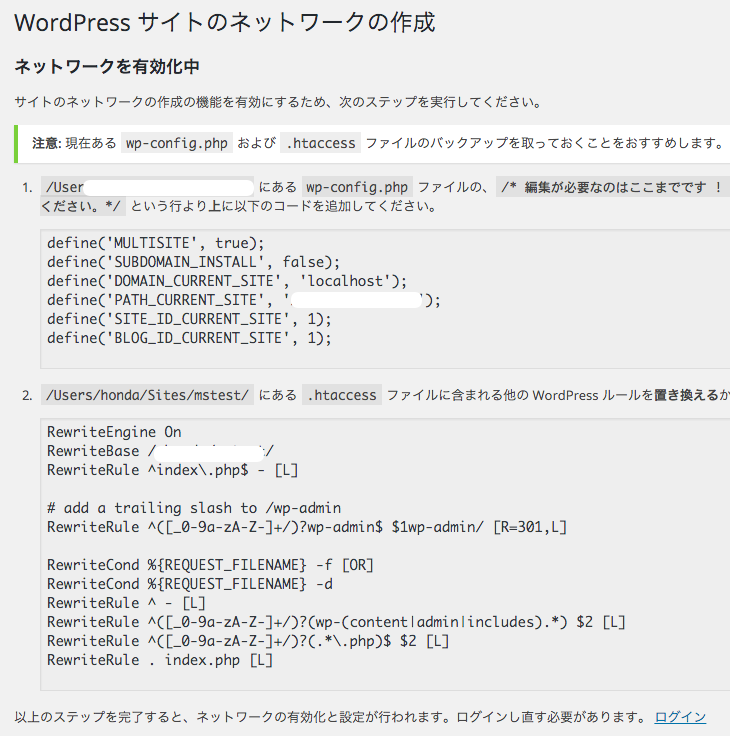
5. Configure the network administrator settings.
When you log in again, a "Network Admin" menu will have been added.
* From now on, themes and plugins are activated from the "Network Admin" menu.
* Posts, pages, theme settings and so on are handled from each site's own Dashboard.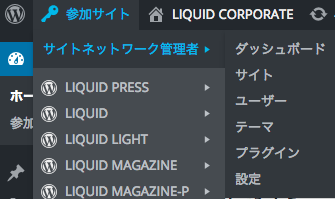 The parent site has been created, but by default "blog/" may be added to post URLs.
To remove it, go to Network Admin > Sites > Settings, delete the "blog/" part of "Permalink Structure", and click "Save Changes".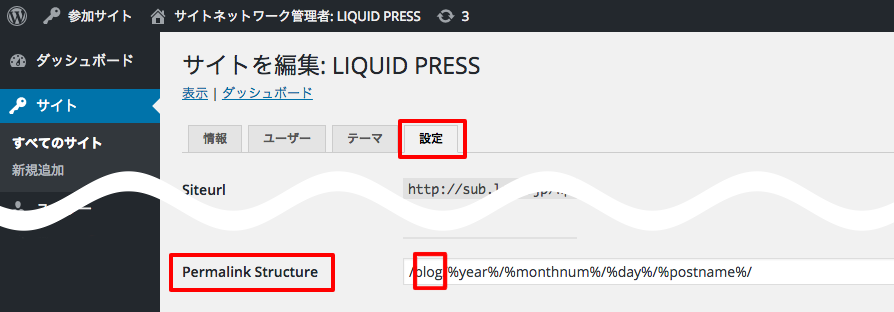 * Depending on your environment, "blog/" may not be added. In that case no configuration is needed.
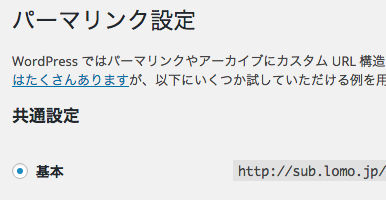
* Please configure the site's Dashboard > Settings > Permalinks after this setting. If post pages return 404 Not Found, set the permalink structure to "Plain" once, save it, and then set it again to resolve the issue.
* Depending on your environment, "blog/" may not be added. In that case no configuration is needed.
* Please configure the site's Dashboard > Settings > Permalinks after this setting. If post pages return 404 Not Found, set the permalink structure to "Plain" once, save it, and then set it again to resolve the issue.
6. Add sites from Network Admin > Sites > Add New.
For "Site Address", use an ISO 639-1 language code (ja, en, zh, etc.) as the subdirectory name, as shown in the Site Structure examples.
Also choose the "Site Title" and "Site Language".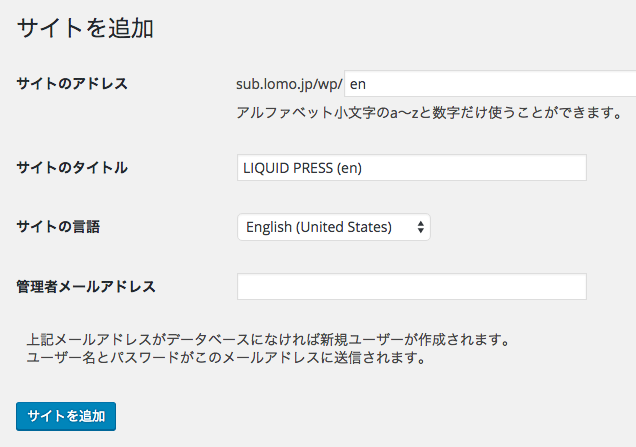
-
Theme Settings
From the Network Admin screen, install the theme and click "Network Enable".
Video manual
Then select the theme for each site from Dashboard > Appearance > Themes.
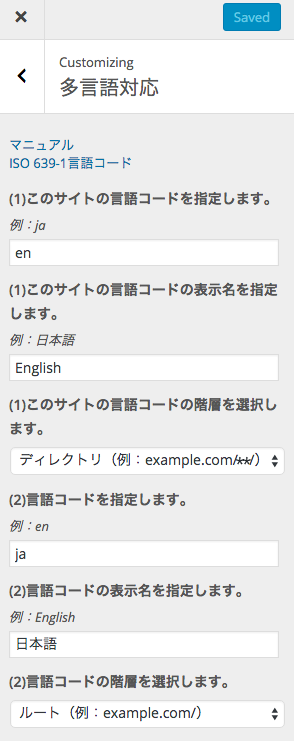
Configure the settings for each site from Dashboard > Appearance > Customize > Multilingual Support.
Please refer to the settings below. The following corresponds to the Site Structure (Example 1) type.Example: Japanese site / English site 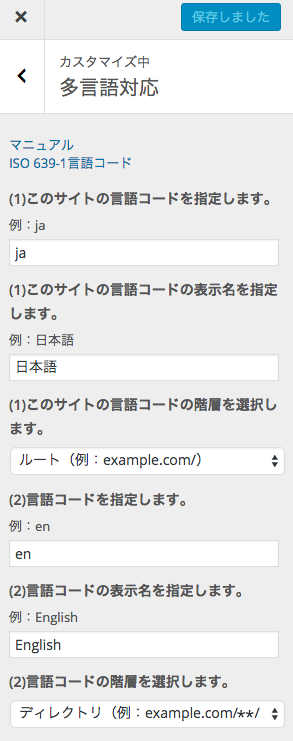
-
Language Switching
Language switching links are displayed automatically in the header.
You can also place the language switching links anywhere you like as a widget.
Go to Dashboard > Appearance > Customize > Widgets, then select and place the "Language Switcher" widget.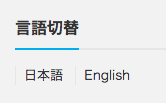
-
Site Language
Set WordPress Dashboard > Settings > General > Site Language for each site.
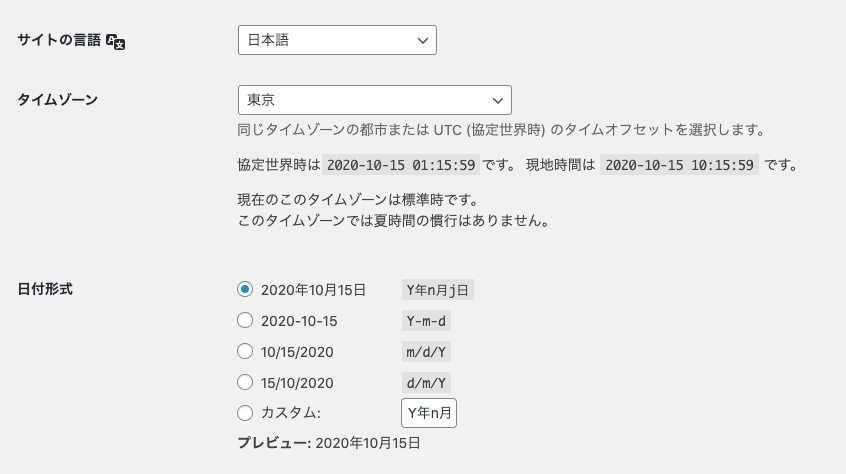 LIQUID PRESS is an internationalized theme, so this is reflected in the site's UI text, HTML tags, and multilingual SEO.
Separately, the admin screen language can be changed per user from Users > Profile > Language.
For details, please see How to use Poedit to edit WordPress translation files. -
Permalinks
Recommended setting
Set WordPress Dashboard > Settings > Permalinks for each site.
/%category%/%postname% -
Date Format
Configure this from WordPress Dashboard > Settings > General > Date Format.
For detailed customization, please see Formatting Date and Time. -
Article Settings
Use the same permalink "URL slug" name for the posts and pages of each language.
That alone makes automatic cross-language linking and multilingual SEO work.
* There is no content translation feature.Example
- Japanese: https://www.example.com/responsive-web-design
- English: https://www.example.com/en/responsive-web-design
- Chinese: https://www.example.com/zh/responsive-web-design
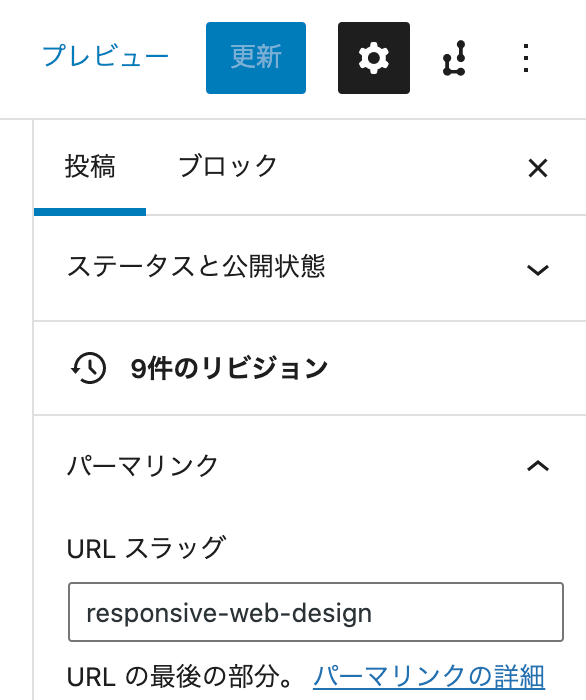 For details, please see How to use the WordPress block editor.
Also, if you do not want to display links to other language versions, add a new custom field and enter the following.
Name: lang / Value: none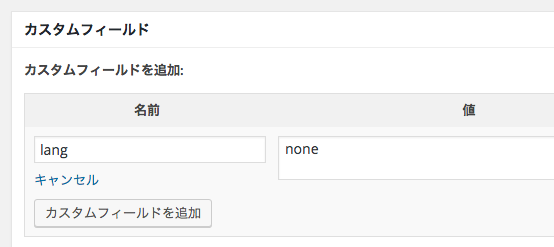
-
Creating a Child Theme (optional)
Theme colors, slideshows and the like can be changed from each language site's admin screen.
If you want to customize layouts and so on separately for each language, we recommend creating a child theme.
For details about child themes, please see How to create a child theme. It is not necessary if you are not customizing.